Creative Process
LIFE-SIZED MAP ART INSTALL
 |
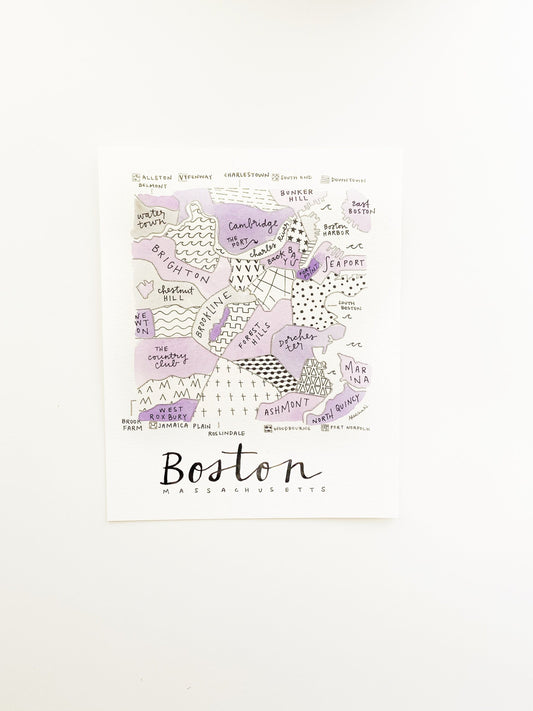
In the spring of 2021 I completed my FIRST-EVER life sized map painting and I wanted to give you a closer look into my creative process for the piece. I was first approached about this project in April 2020 and about 2 months later the work began. I was hired by a company that was designing the interior of a new apartment complex in the Minnehaha neighborhood of Minneapolis, MN. They explained to me wanted some artwork to fill a wall in their common room for residents and they wanted the artwork to be reflective of the area that the apartment is located in. They also explained that they preferred for the colors of the artwork to match the color scheme they had chosen for their furniture and light fixtures throughout the building. With that in min, I came up with four different styles of artwork that would incorporate my cartography design and let them decide which was their favorite. We ultimately decided on a 3-panel map painting that would get installed onto the wall and this excited me because it meant that the piece would have a longer life span and it can be moved in the future (rather than painted over)! Each panel was 5’ feet tall, 2.5’ feet wide, and 4” inches deep. In the end they would be hung side-by-side, making the entire piece 5 feet x 7.5 feet overall! My biggest installation at the time! |

|
THE CREATIVE PROCESS
STEP ONE |
The first step of the creative process was to head to the store and buy all of the materials. I had to pick out the colors that I could mix together to get the final color I wanted for the piece and I also had to come up with a solution for the metallic, raised borders. I'm personally a very big fan of Golden Paints and that's mostly what I used for this project. Once I had picked out the |
wooden boards and the materials I would need to make this piece come to life, I brought it all home and set up a little art studio in my parent's garage. Remember that this art project was going on just as stay-at-home orders were being announced during the beginning of the COVID-19 pandemic. So I was at home in Minnesota, away from my usual set up and had to make do! |
 |
 |
 |
STEP TWO |
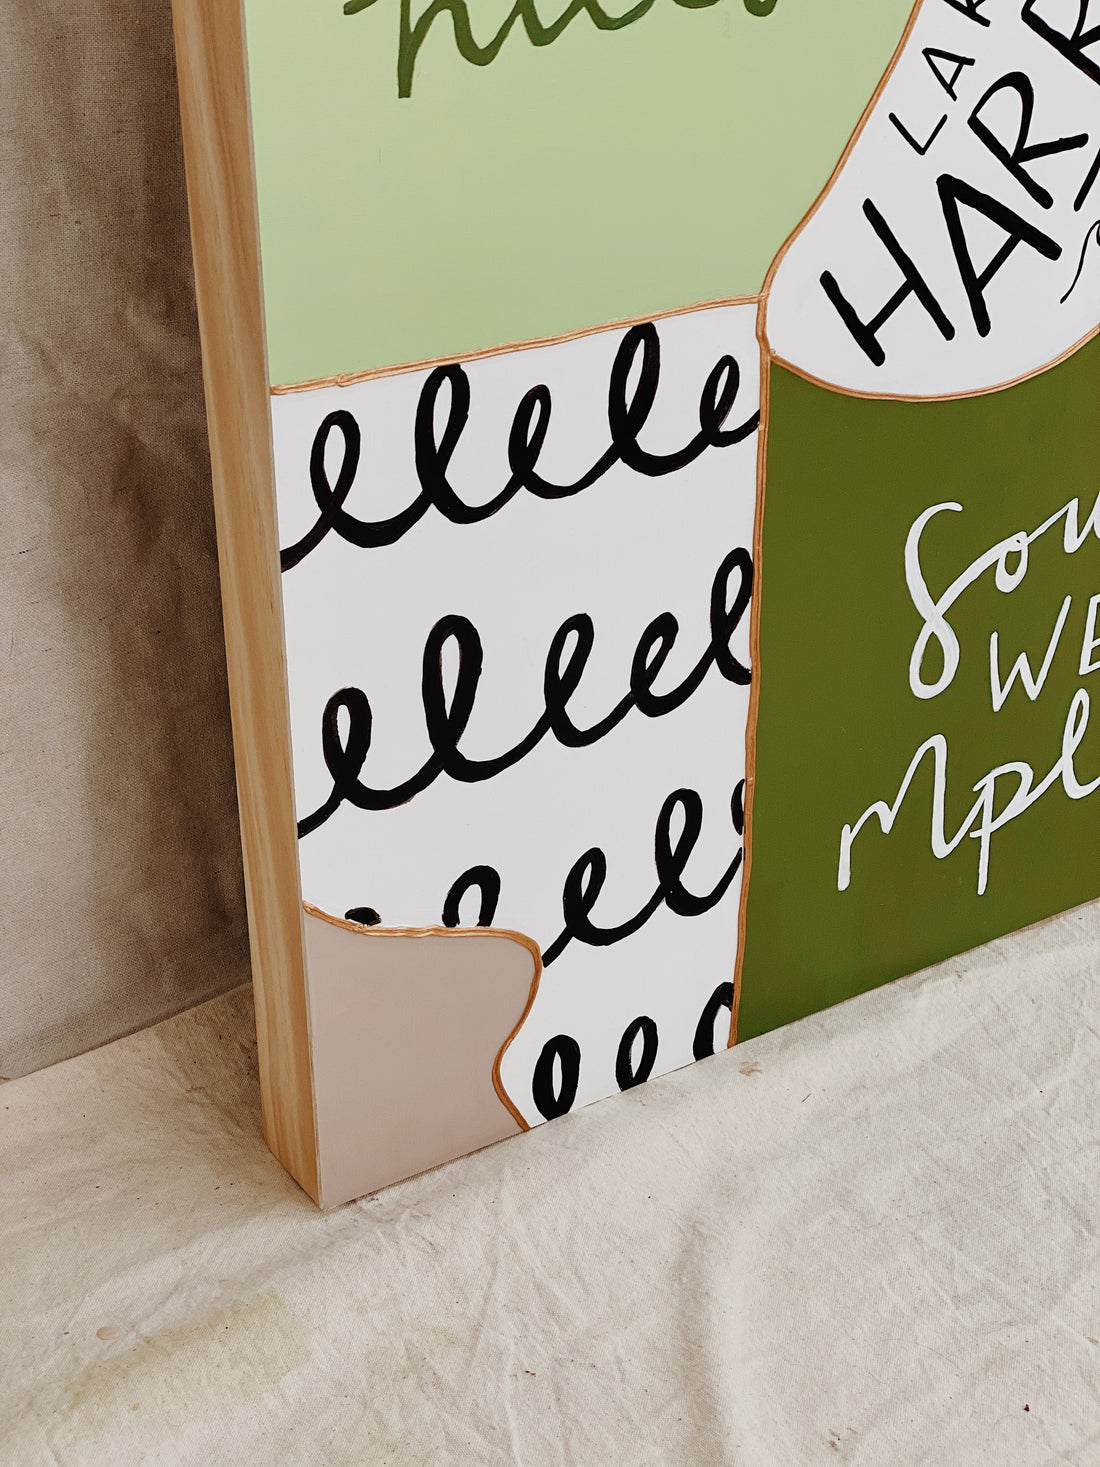
Next, I put masking tape around each of the borders because I loved the look of the raw wood on the sides and didn't want to spill any paint. I then covered the boards with white gesso to prevent the acrylic paints I would be using next from seeping into the wood. Once the gesso was dry, I referred back to my original sketch for the piece and began sketching it out onto the boards. Finally, the pencil lines were on all 3 boards and I was ready to begin adding color! | I started with the lightest colors first, then progressively went darker. Surprisingly, green takes SO many layers to cover up everything beneath it (especially pencil lines). Once the base colors were down, I could start adding the lettering. Now this is the tedious part. I tried many different methods for this phase of the painting - I used paint pens, really fine brushes, watered down paints, etc. Eventually using a combination of all 3, I found the perfect formula and it turned out so great. |
 |
 |
 |
STEP THREE |
Once the lettering was done, we moved into the touch up phase. This is where I go back over every inch of the paintings and make touch-ups to areas that don't have the cleanest lines or are kind of see-through. This part of the creative process took much longer than I thought it would, but then again, I am a perfectionist and that may have been a factor. The next phase was the risky one since I had never done raised borders before. Adding the metallic paint at this point meant I would risk ruining all of my work that was already finished. |
I experimented on a smaller piece of wood to see what it would look like and then checked back 24 hours later to see what it would look like after it had spent a good amount of time drying. Luckily, it looked awesome and I was ready to move forward with creating the borders on all 3 panels. Squeezing the paint out the tube takes patience and a lot of focus. Overall it took about an hour to add all of the lines and another hour to do touch-ups. In the end, the piece turned out so well and I was so excited to deliver it to it's final location. You can now find this piece hanging at the MN46 Apartments in Minneapolis, Minnesota! |
 |
 |
Interested in having a piece like this commissioned for your brand or for yourself?
LET'S GET IN TOUCH
Send us an email at contact@artbyaleisha.com